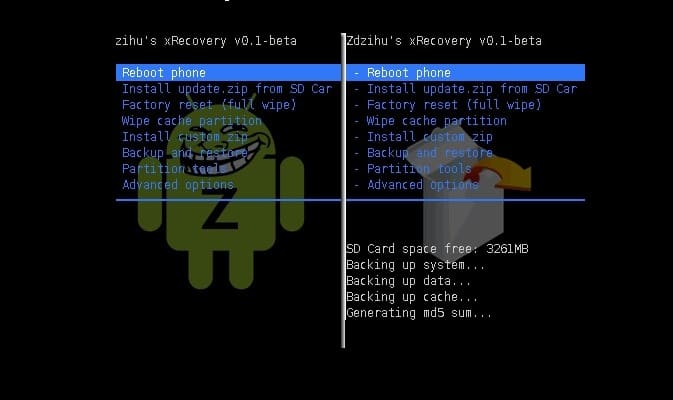
Installing a custom recovery opens up doors to flashing custom ROMs, something that is very useful if a manufacturer takes a long time to release updates and when it stops supporting the device altogether. The post below will show you how to install a custom recovery (xRecovery) on the Xperia X10 Mini Pro, assuming that you have already rooted your device.
By themobilehub
I. Before You Begin
1. Your device must be rooted before you can flash xRecovery on the X10 Mini Pro. Use our guide to help you with this if you haven’t already done so.
2. Make sure that you have at least 75% of device’s battery charged before you begin.
3. Back up everything you feel is important before you start with this procedure.
4. This procedure is known to work with devices running v2.1.1.A.0.6 firmware. Make sure that you are running this version before you proceed.
II. Necessary Downloads
III. Installing xRecovery on the Xperia X10 Mini Pro
1. Install BusyBox on your device. You can do this by heading to the Play Store on your device or by going to the web version here, logging in with your device-associated Google account and clicking on Install.
2. Extract xRecovery-minipro-0.1.1-beta.zip to a folder on your desktop. You should end up with the following files:
busyboxchargemonxrecovery.tarreadme.txt
3. Connect your device and copy the first three files to your device’s SD card. Disconnect your device from your PC.
4. Go to the Play Store again and install Root Browser Lite.
5. Open up Root Browser Lite on your device.
6. Press and hold on the system folder to bring up options. Then click on Permissions.
7. Tick all the checkboxes under Write and click OK. [Note down the CHMOD status before you change these; this is usually 0775, a number you can see at the bottom of the dialog box.]
8. Copy the three files you have on your SD card to /system/bin folder.
9. Hold and press on each file, click on permissions again and tick all boxes under Read, Write and Execute columns. [The CHMOD number at the bottom of the dialog box will be 0777].
10. Go back to the system folder and change the permissions to as they were previously.
And you’re done!! You should now have xRecovery installed on Xperia X10 Mini Pro.
IV. Accessing xRecovery
1. Power down your device.
2. Keep pressing the Back button as soon as you see the white SE logo.
3. Use Volume Up and Down to move around the menu, Home button to select and the Back button to go back to previous menu.
No comments:
Post a Comment