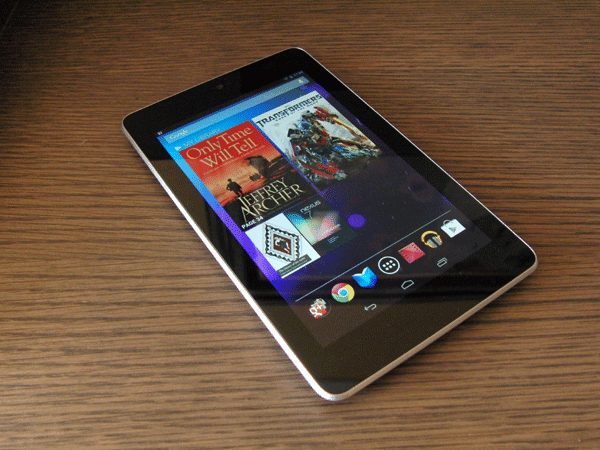
While it was possible for any Windows based PC to have two different OSes installed on it, the same wasn’t possible for Android Devices like the Nexus 7, until a thread over at XDA came out. According to the developer on XDA, you can now have multiple ROMs running on your Nexus 7, side-by-side. With the primary ROM being on the internal memory and the custom ROM on the secondary memory, you’ll be able to enjoy two different tastes by just booting into the ROM of your choice. To make such things easier to do, here we’ve created a guide for the folks who own a Nexus 7 and like to modify it, just like we do. Follow our guide and have fun!
By themobilehub
I. Before You Begin:
1. You must have done our How to Root the Nexus 7 procedure first. Do it first and then continue with this.
2. You must have ClockworkMod Recovery installed on your device. If you followed our root procedure, you already have it.
II. Downloading Required Files:
1. MultiROM
3. Fastboot
III. Installing MultiROM on the Nexus 7:
1. Download and place all the files you downloaded to your Desktop.
2. Extract files from the Fastboot archive to your Desktop, leave rest of the archives unextracted.
3. Connect your Nexus 7 to your PC using the USB cable.
4. Copy the MultiROM ZIP over to the root of your SD card.
5. Once done, disconnct the device from your PC.
6. Enable the USB debugging option on your device by going to Menu>>Settings>>Developer options>>USB debugging.
7. Connect the device to your PC once again.
8. Open a Command Prompt Window on your Desktop. To do so, press and hold the Shift button on your keyboard and right-click on any empty area on the screen, then select Open command window here.
9. Type in following command into the Command Prompt Window:
adb reboot recovery10. The device should reboot into the ClockworkMod Recovery.
11. From the Recovery Menu, choose install zip from sdcard followed by choose zip from sdcard.
12. Select the MultiROM ZIP you copied earlier for flashing. Wait till it finishes flashing the file.
13. After it’s done, choose reboot system now from the Recovery menu.
14. Once your device boots up into normal mode, issue following command using the Command Prompt Window:
adb reboot bootloader15. The device should reboot in bootloader mode. Select the Fastboot option that appears on the screen.
16. Now, type in following command into the Command Prompt Window:
fastboot flash recovery recovery.img17. It should flash the modified recovery on your device.
18. Once it’s done, issue following command:
fastboot reboot19. The device should reboot in normal mode.
Great! The MultiROM feature has successfully been installed on your Nexus 7, let’s learn how you can load a ROM using it.
IV. Adding a ROM on the Nexus 7 with MultiROM:
1. Download any custom ROM of your choice from our Nexus 7 ROMs Here Source Unlockr
2. Place the ROM ZIP file on the Desktop of your PC. Do NOT extract the archive.
3. Connect your Nexus 7 to your PC using the USB cable.
4. Copy the ROM ZIP over to the root of your SD card.
5. Disconnect the device from your PC after the file’s been copied.
6. Turn OFF the device.
7. Reboot it into the Recovery mode. To do so, press and hold the Volume UP+Volume DOWN+Power buttons together.
8. Select Recovery option from the list.
9. Once inside the recovery, go to Advanced>>MultiROM>>Add ROM.
10. Select the ROM ZIP file you copied earlier to your device.
11. Follow any instructions you see on the screen.
12. Reboot the device.
13. You’re all set!
Awesome! You have successfully added a ROM on your Nexus 7 that has been put along with the original ROM you have on the device. To set which ROM to be booted by default, follow the following steps.
V. Setting up a Default ROM for the boot:
1. Turn OFF your Nexus 7.
2. Reboot it into the Recovery Mode. To do so, simply press and hold the Volume UP+Volume DOWN+Power buttons together.
3. Select Recovery option from the list.
4. In the Recovery, go to Advanced>>MultiROM>>Settings.
5. Select the ROM you want to boot-up automatically when you turn ON the device.
6. Reboot the device.
7. You’re done!
Brilliant! You’ve successfully set up a default ROM on your Nexus 7, which should boot-up automatically each time you turn ON your device.
Your Nexus 7 is now ready to accommodate more than one ROM at a time and switching fro and to a ROM is quite easy, everything’s explained above!
No comments:
Post a Comment